.png)
How to Install ABAP Development Tools (ADT)
by Dorian Salmon

 Introduction
The advent of the SAP HANA memory-based database technology introduced some new ways of manipulating data – Core Data Service (CDS) views and ABAP Managed Database Procedure (AMDP) classes.
It is possible to access these new types of objects using the ABAP Workbench that everyone will be familiar with from the ECC environment, however, this access is restricted to read-only; to create and modify these new objects a new development environment is required – ABAP Development Tools (ADT). ADT is a set of SAP-provided plug-ins that are installed on into the Eclipse development platform that is widely used by non-SAP developers.
The ADT environment also allows the development of all other objects – data dictionary objects, reports, classes, etc. ADT also supports other activities such as interactive debugging that were previously done in the ABAP Workbench.
CDS views are also available in the ECC environment. As well ECC now supports the HANA database for improved performance, so the ADT environment can be used in ECC systems as well as the newer S/4 HANA systems.
Although very different from the SAPGui based ABAP Workbench, many developers now prefer ADT for development in both HANA and ECC environments.
ADT Installation Prerequisites
Any personal computer that supports the SAPGui installation is also suitable for installing ADT. There are three components required for an ADT installation:
1. A Java development kit (JDK);
2. The base Eclipse integrated development environment (IDE);
3. The SAP ADT plug-in components.
As both the Eclipse and the SAP components evolve, specific versions required will frequently change. SAP provides a site that lists current requirements at https://tools.hana.ondemand.com.
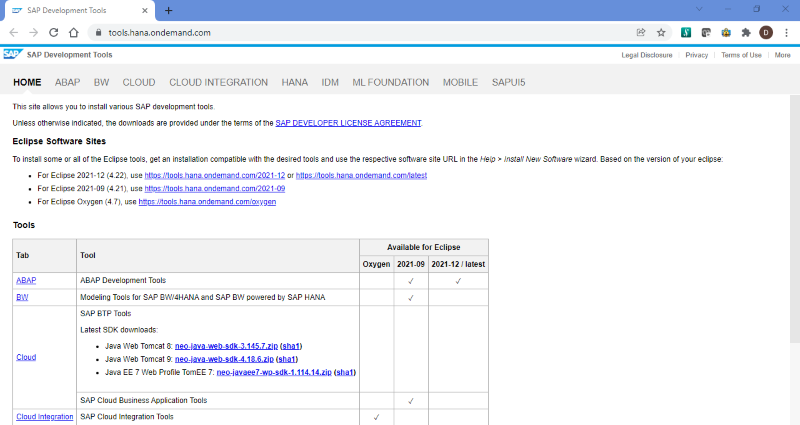
Click the “ABAP” link to go to the page showing full details of ADT installation requirements.
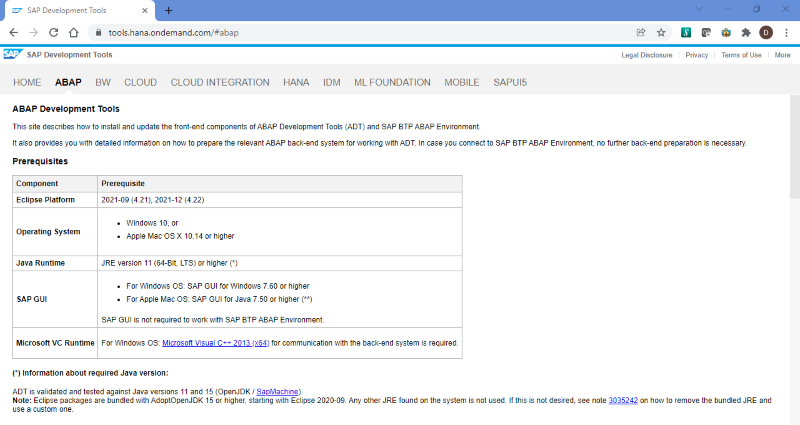
This document is based on installation using a 64-bit Windows 10 PC.
Install JDK
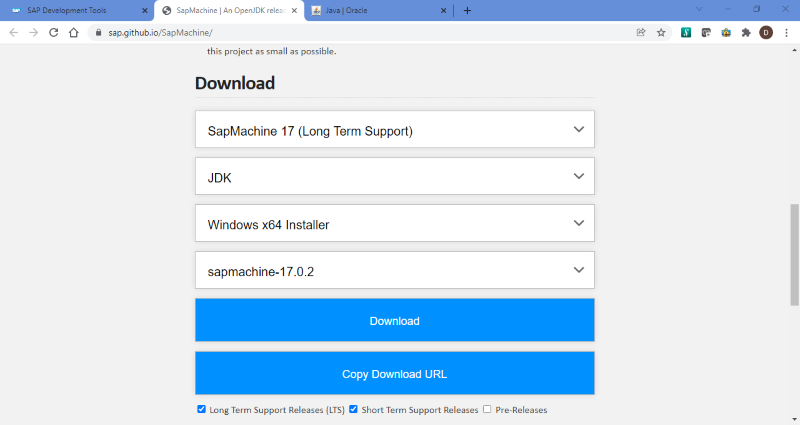
First step is to install the Java development kit required for Eclipse installation. You can either install the industry standard JDK from Oracle Corporation available at https://www.java.com/en/, or the SAP-specific JDK available at https://sap.github.io/SapMachine/.
We will install the SAP JDK.
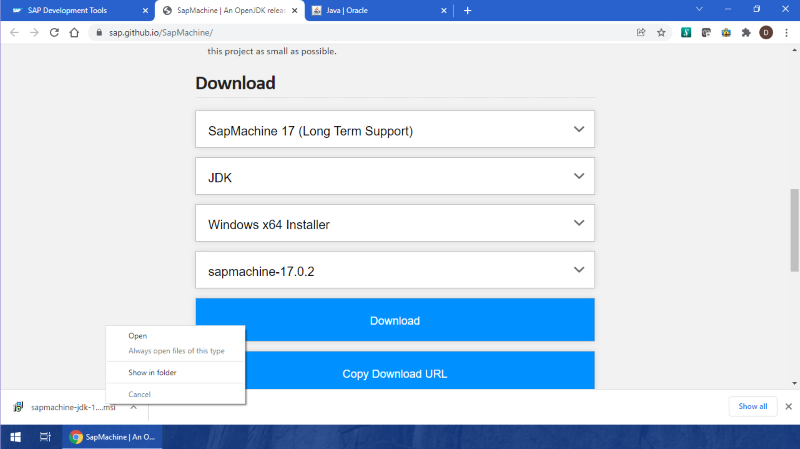
Go to https://sap.github.io/SapMachine/. Scroll down to the “Download” section of the page, select “Windows x64 Installer” then click the “Download” button.
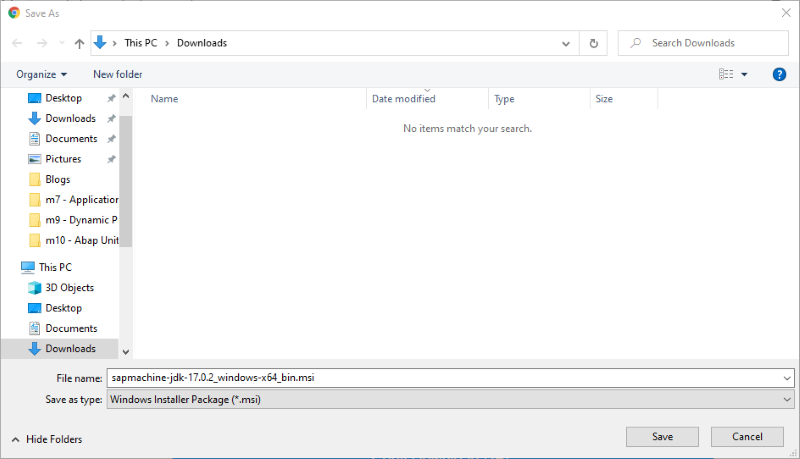
Save the Windows Installed Package file to Downloads folder.
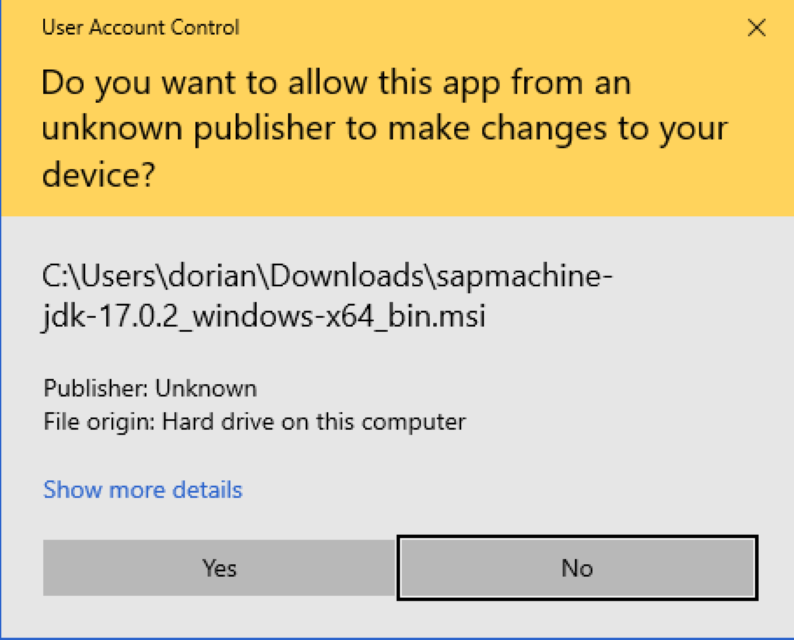
Right-click the downloaded file and select “Open”.
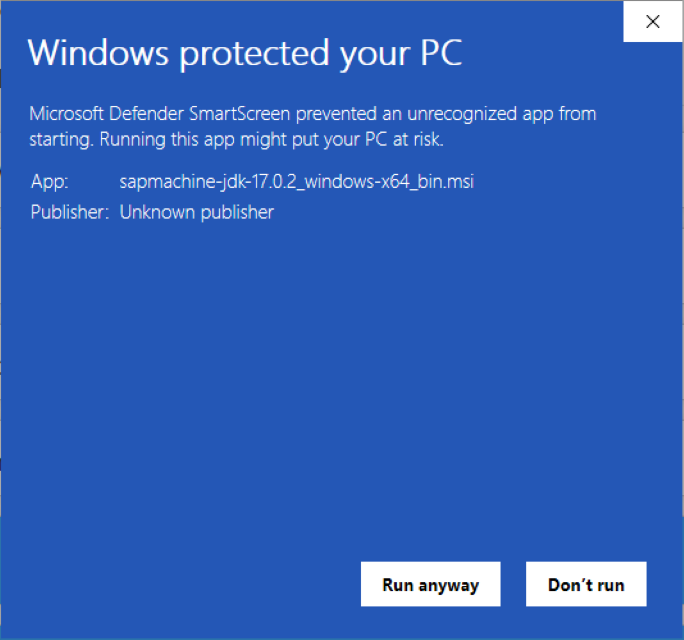
You may receive a security warning; click “Run anyway” to start the installation.
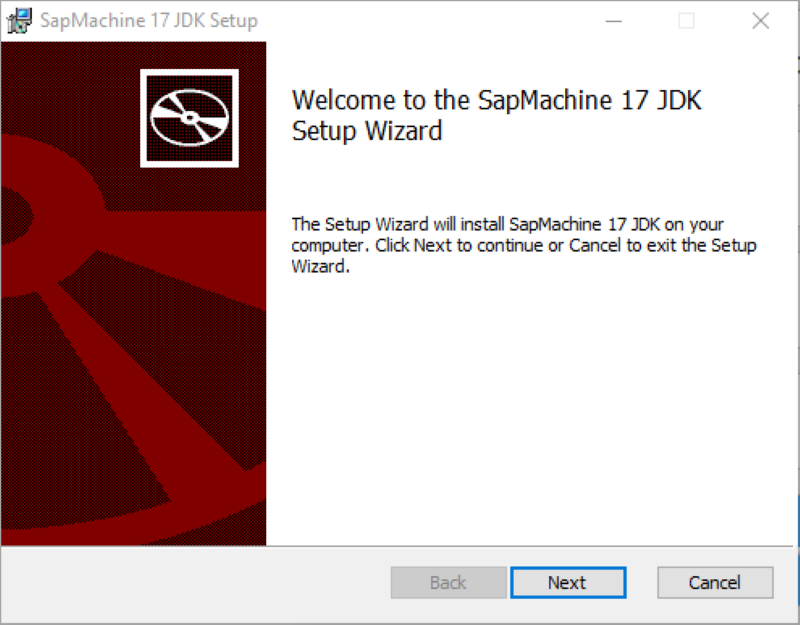
Click “Next” button.
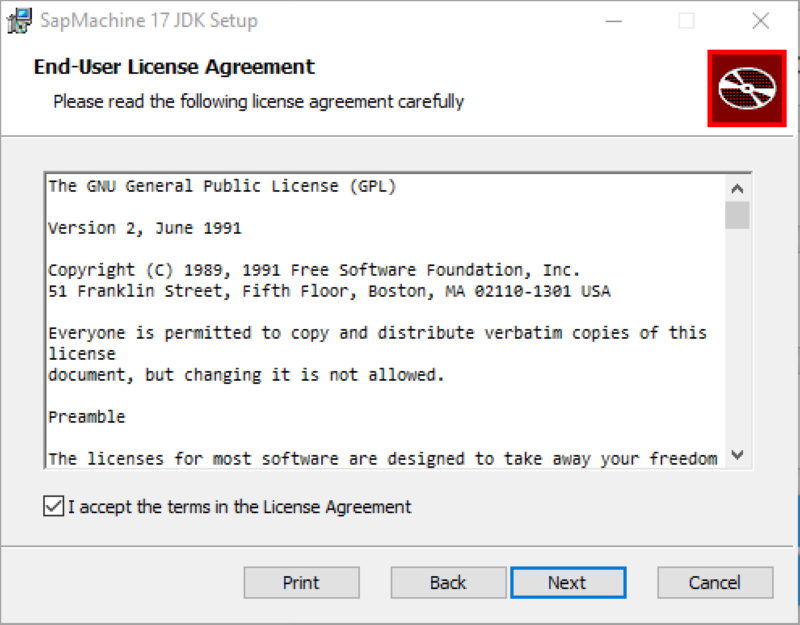
Accept the license agreement and click “Next”.
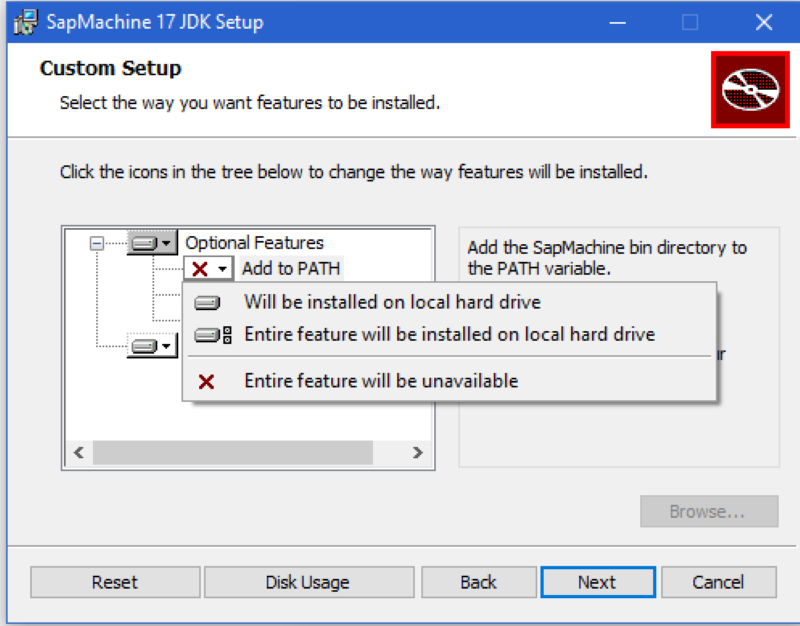
A setup options window is displayed.
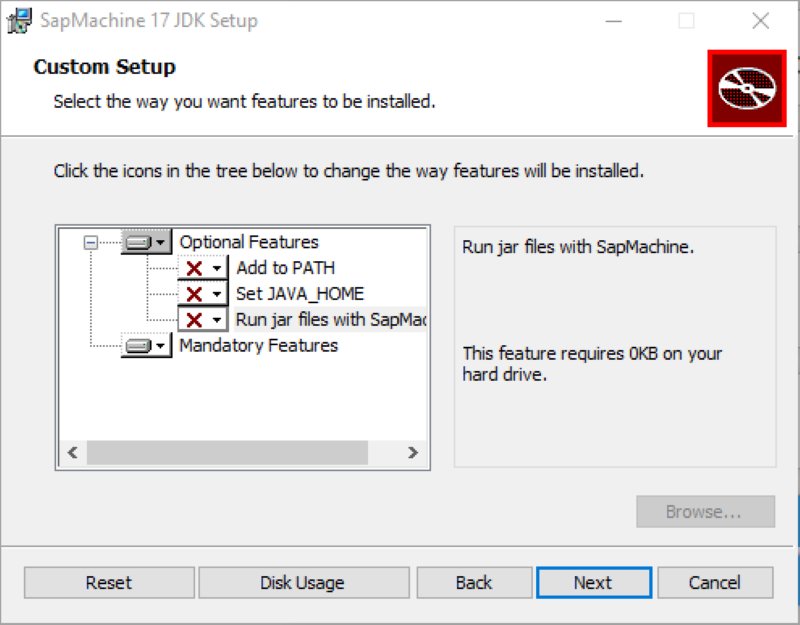
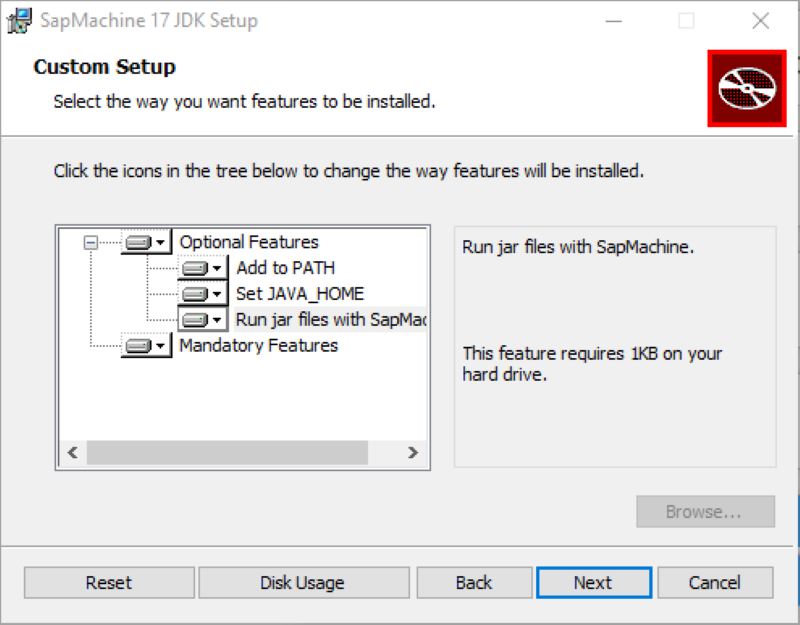
As this is the only Java installation in the current PC environment, reset the “Unavailable” options (shown as red “X”) to “Entire feature will be installed on local hard drive”.
When all options have been changed, click “Next” button.
Click “Install” button.
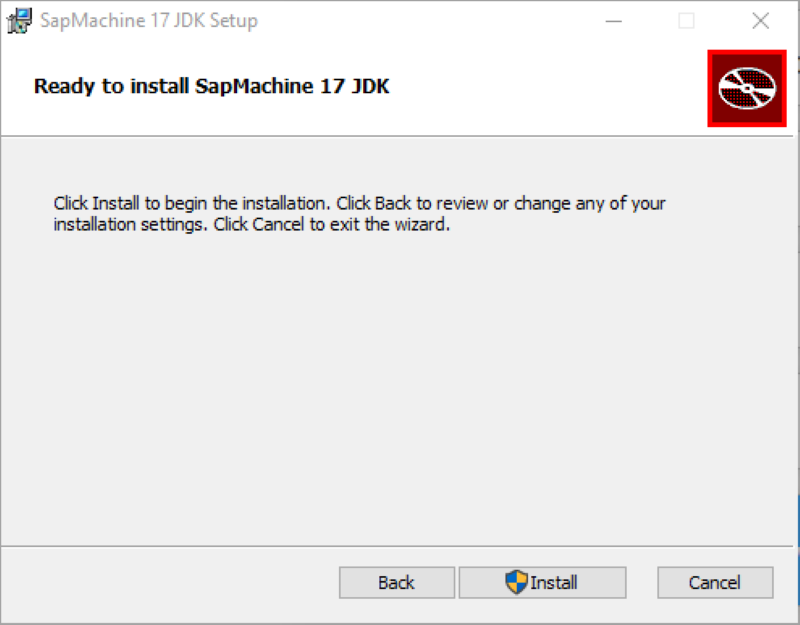
Allow the installation to proceed if UAC prompt is displayed.
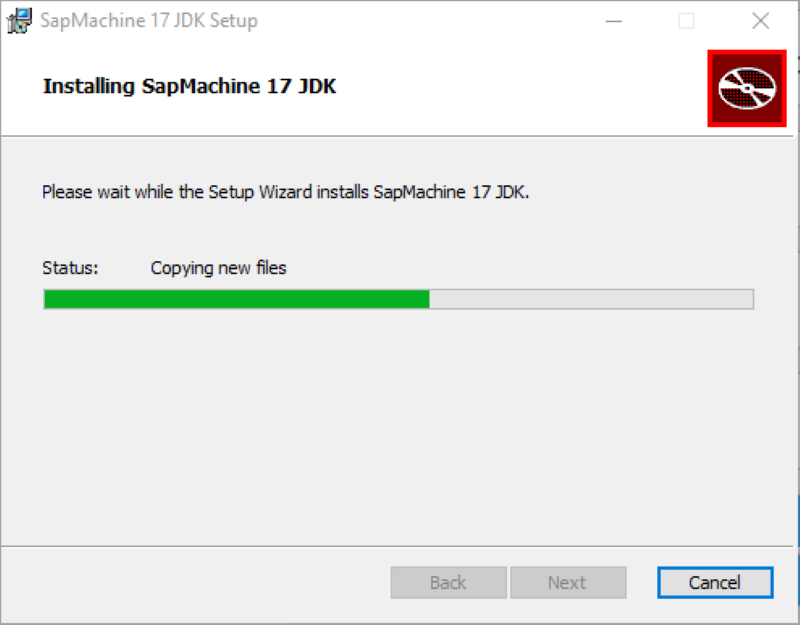
Installation will start; a progress window will be displayed.
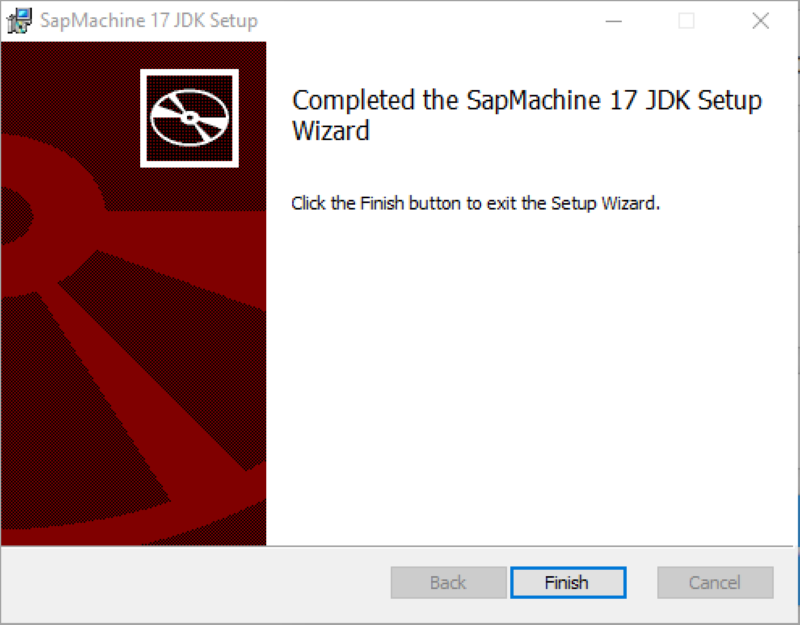
Click “Finish” when installation is complete.
Install Eclipse IDE
After the JDK has been installed, second step is to install the Eclipse IDE.
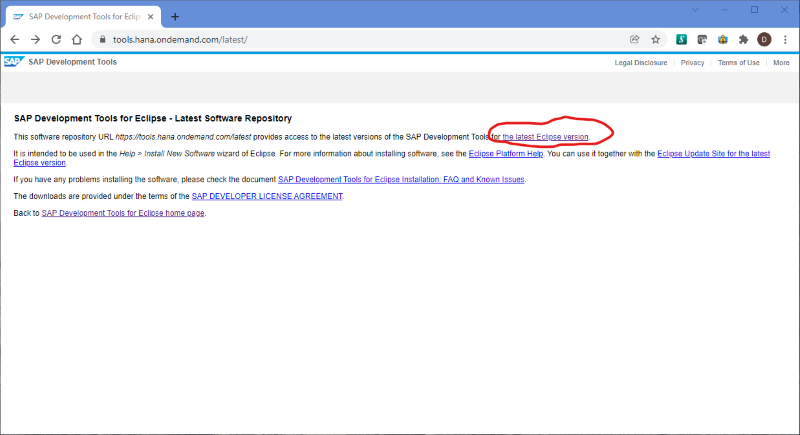
To obtain the latest current version of the IDE go to https://tools.hana.ondemand.com/latest/.
Click the link for “latest Eclipse version”.
The Eclipse site defaults to the page for Eclipse installation packages. As we have already installed the SAP Java machine, click the toolbar link for “Eclipse Installer”.
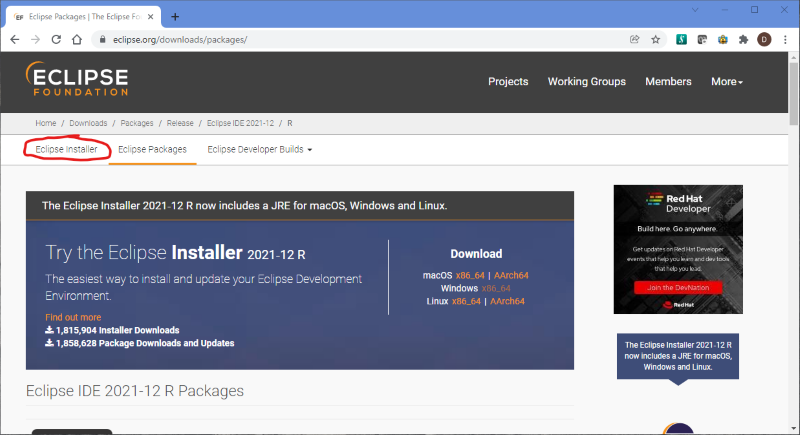
Then click the link for the Windows 64-bit installer.
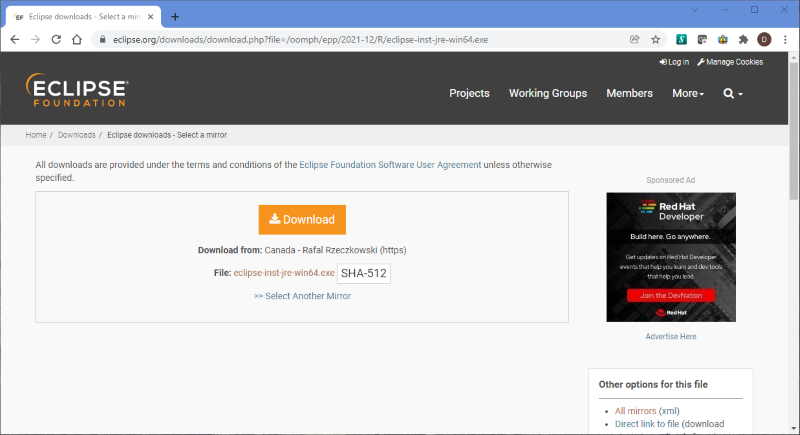
Click the “Download” button.
You may optionally make a donation to the Eclipse Community.
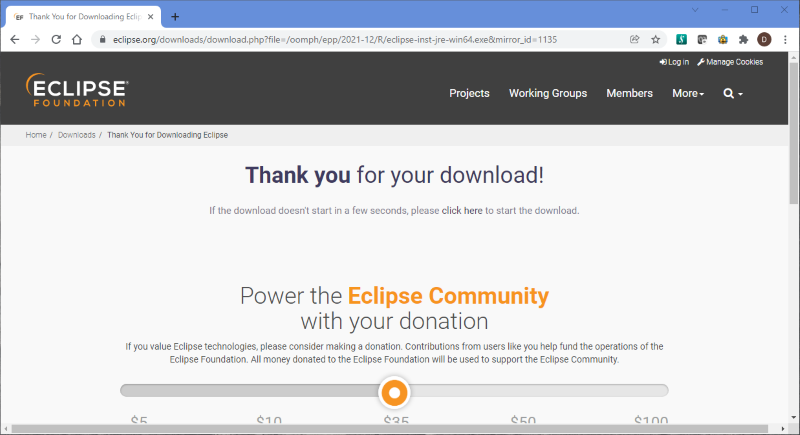
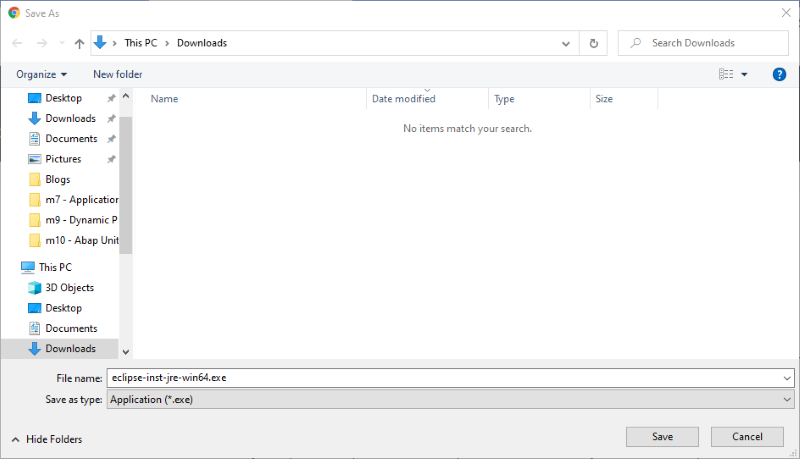
Then save the installation file to Downloads folder.
Right-click the downloaded file and select “Open”.
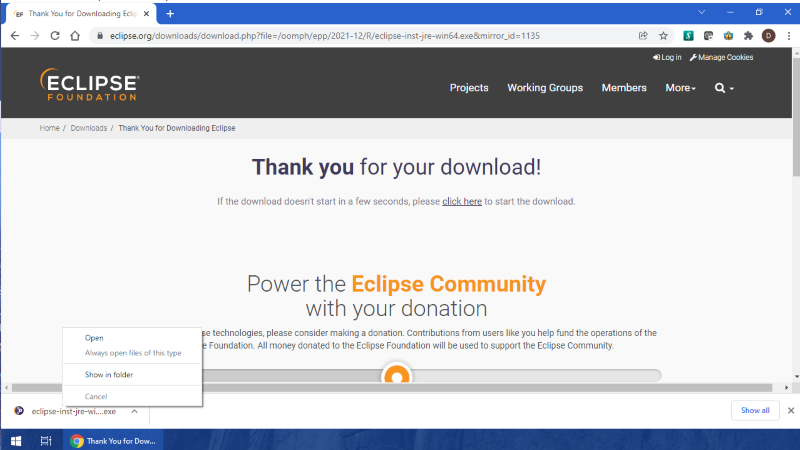
Click “Create a new Java project” to start the IDE.
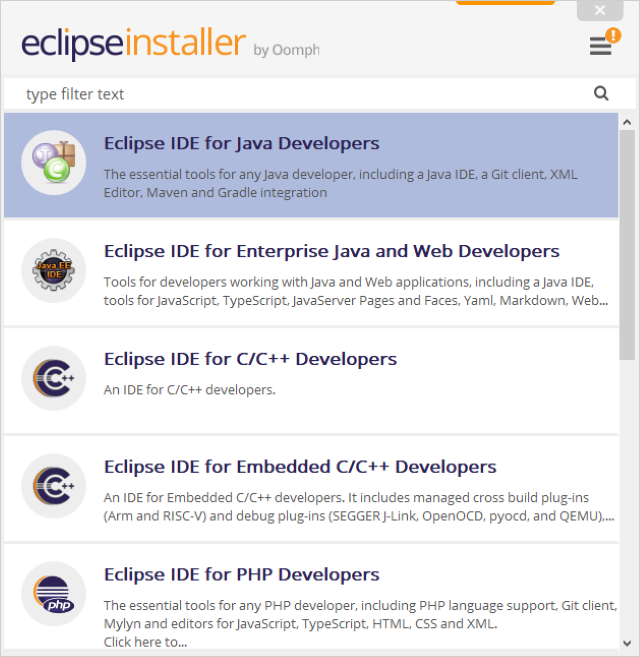
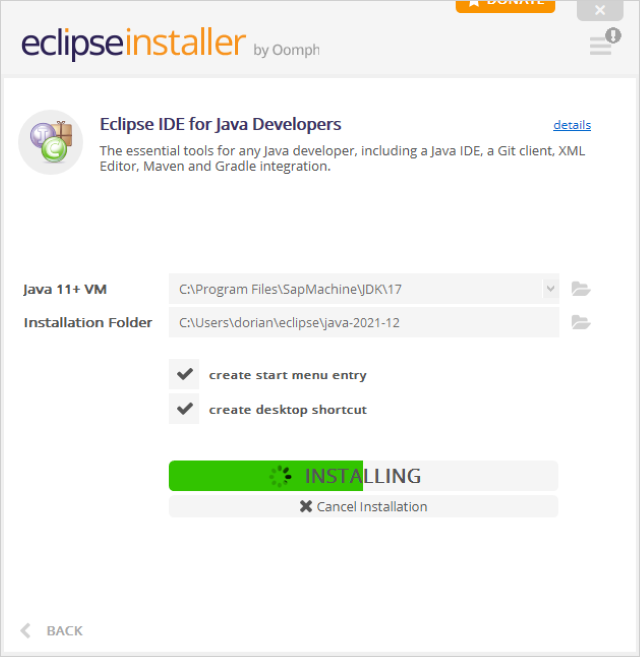
Select the first option: “Eclipse IDE for Java Developers”.
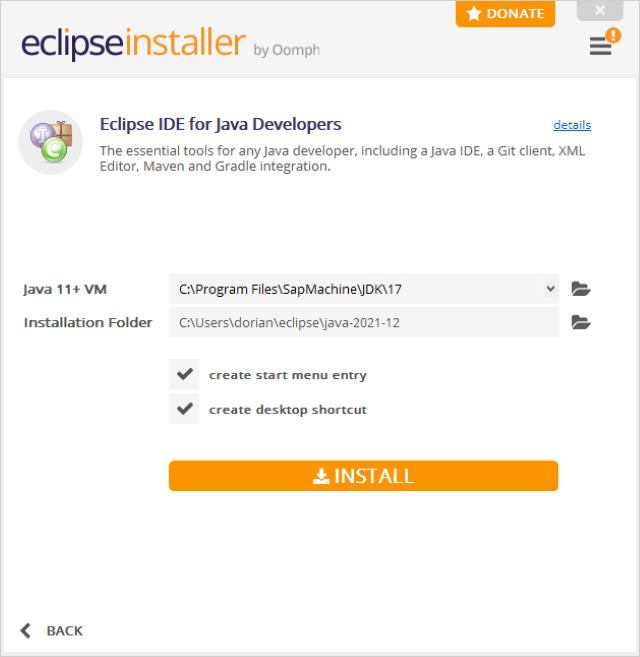
Check that all options are correct then click “Install” button.
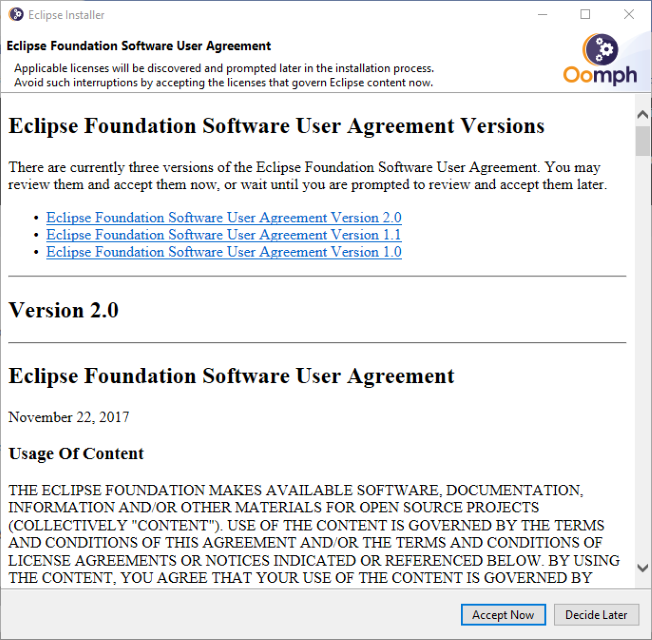
Accept the license agreement.
Installation will start.
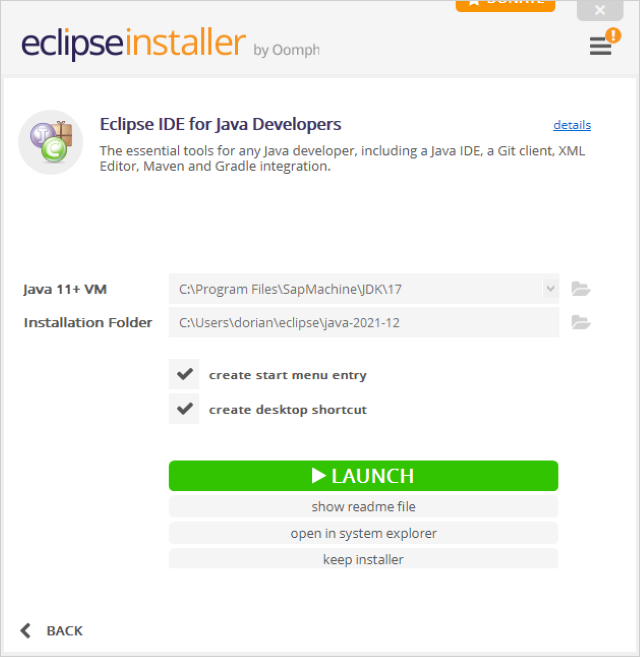
When installation is complete, click the “Launch” button to start the Eclipse IDE.
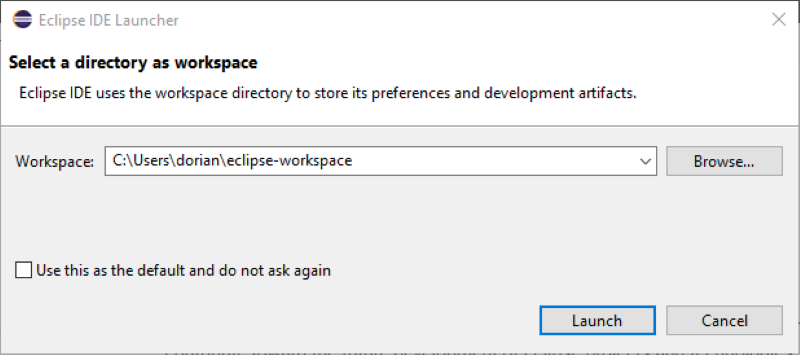
Change the location folder of the Eclipse default workspace if needed, then click “Launch” button.
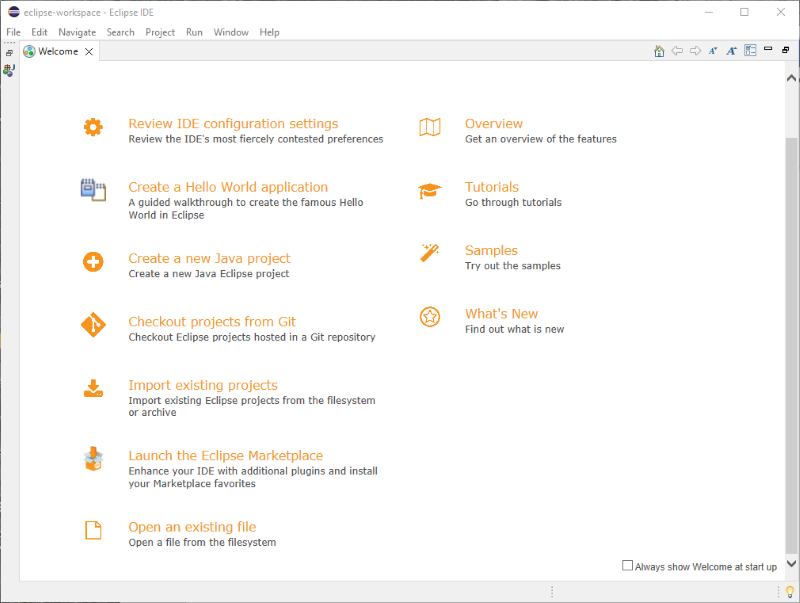
When the welcome page is displayed select “Create a new Java project” to start the IDE.
The Java aspect will be displayed. Next step is to install the SAP ADT plug-ins.
Install SAP ADT Plug-ins
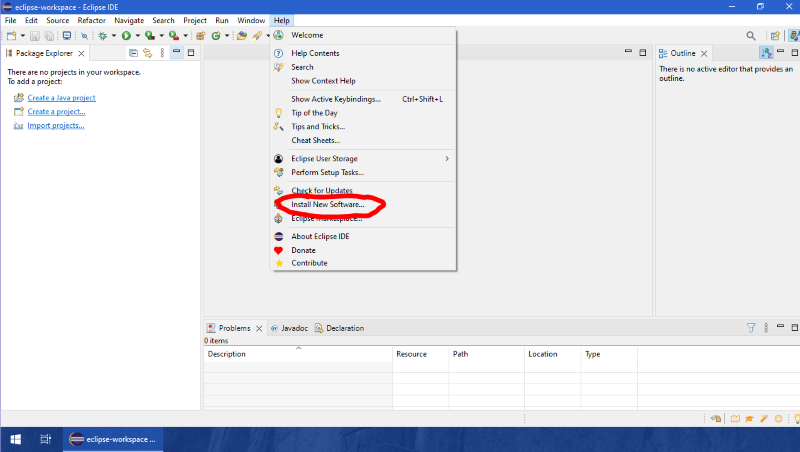
Installation of Eclipse plug-ins is done from the IDE help menu.
Click the “Help” toolbar button then click “Install New Software”.
Enter the address “https://tools.hana.ondemand.com/latest” in the Work with field then press Enter key.
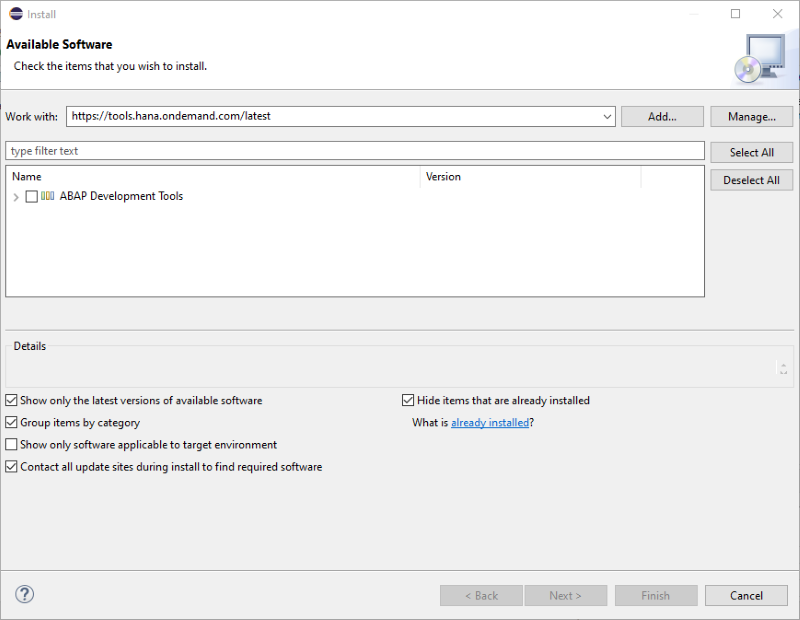
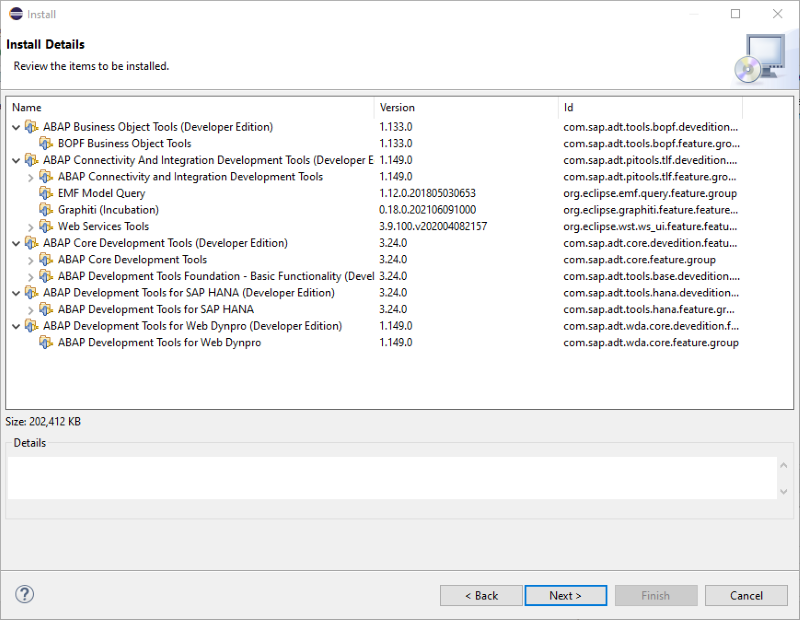
Expand the ABAP Development Tools tree, select required items then click “Next” button.
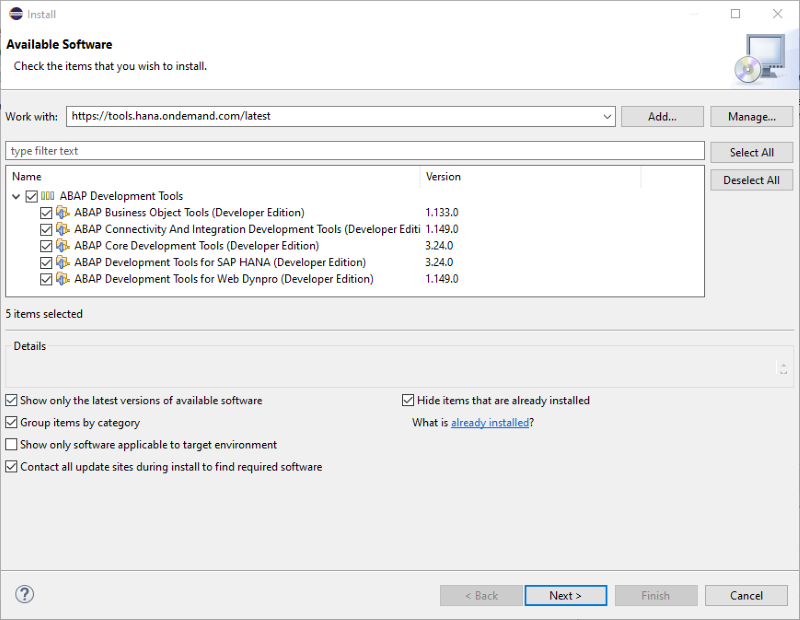
Review the generated list then click “Next” button.
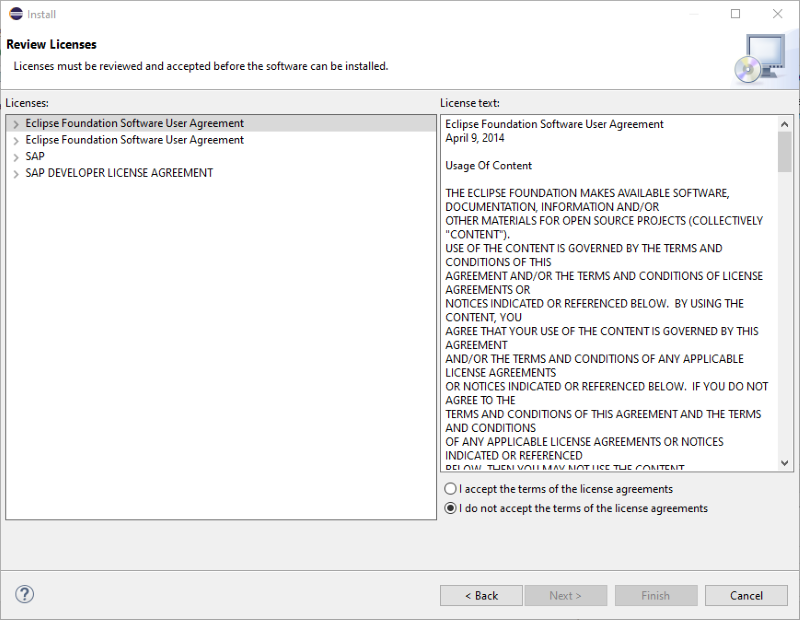
Accept the license agreements then click “Finish” button.
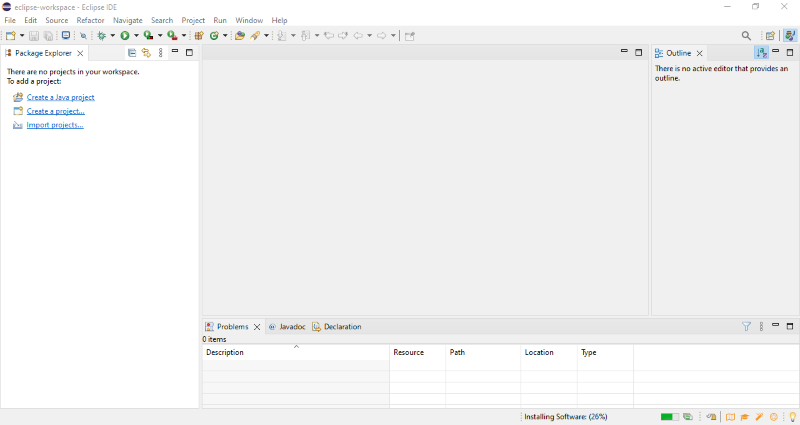
The SAP ADT plug-ins will be installed; a status bar at the bottom of the IDE will show installation progress
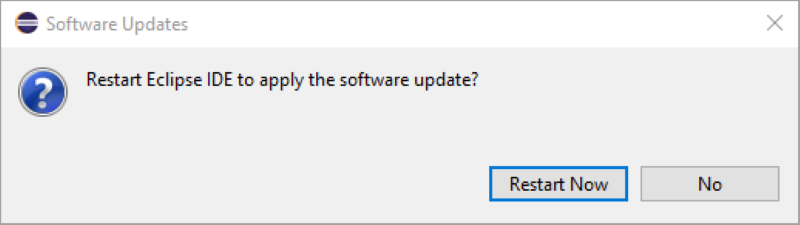
When installation is complete, the IDE must be restarted to activate the installed components. Click “Restart Now” button.
The IDE will be restarted. You will see the release notes for the ADT plugin displayed.
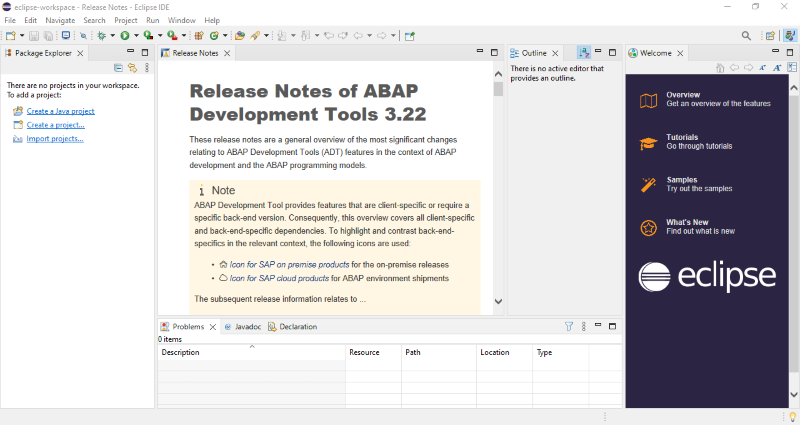
Review the release notes for latest ADT information.
Connect to an SAP System
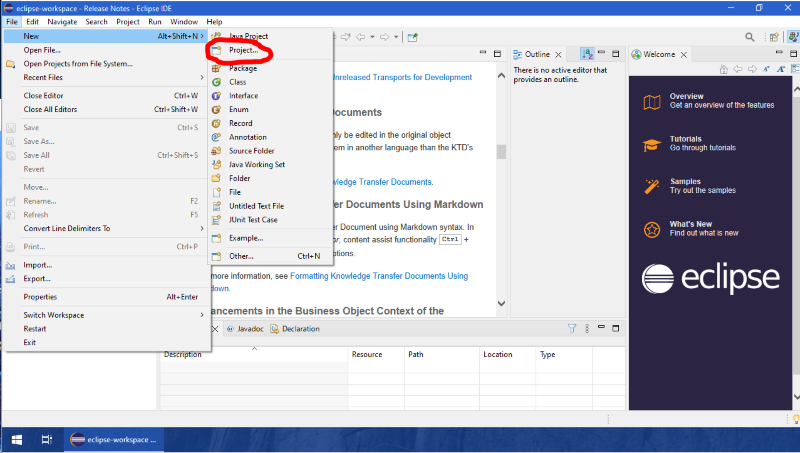
A connection to an SAP system is made by creating a new ABAP project.
Use the toolbar menu path File à New à Project.
Expand the ABAP tree and select either “ABAP Cloud Project” for a cloud-based system or “ABAP Project” for an on-premise system.
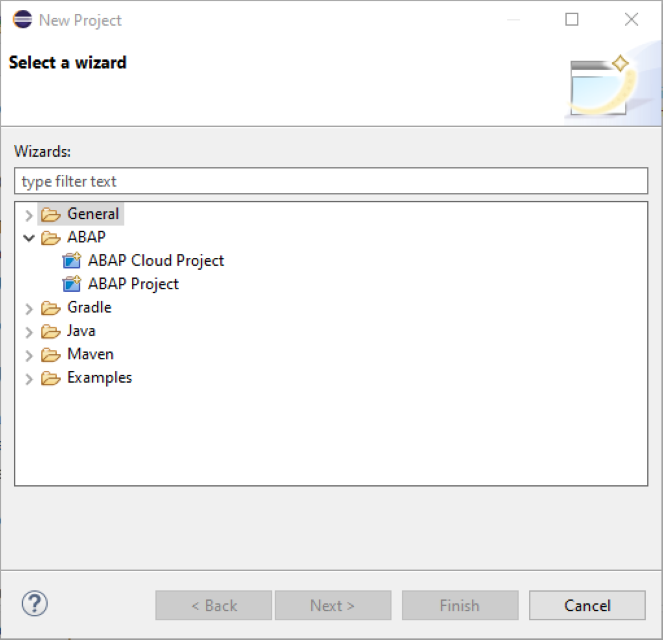
In this example, we will connect to an on-premise system. Select “ABAP Project” and click “Next” button.
Any systems that are defined in an existing SAPGui installation will be displayed.
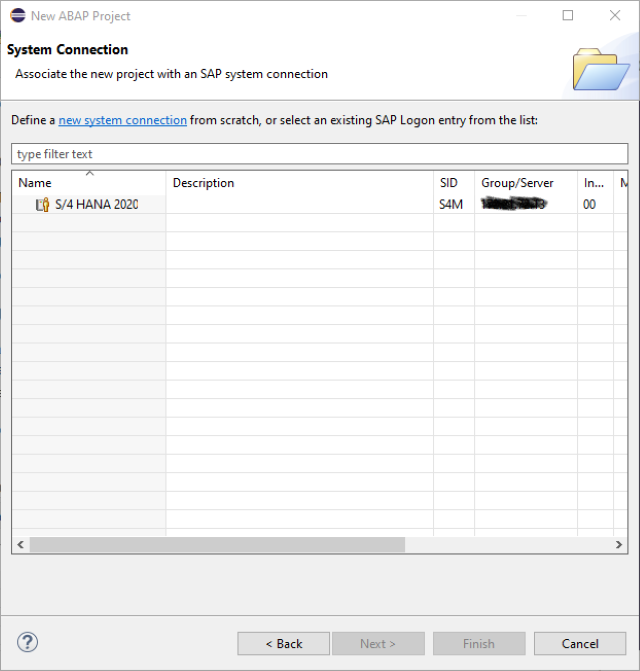
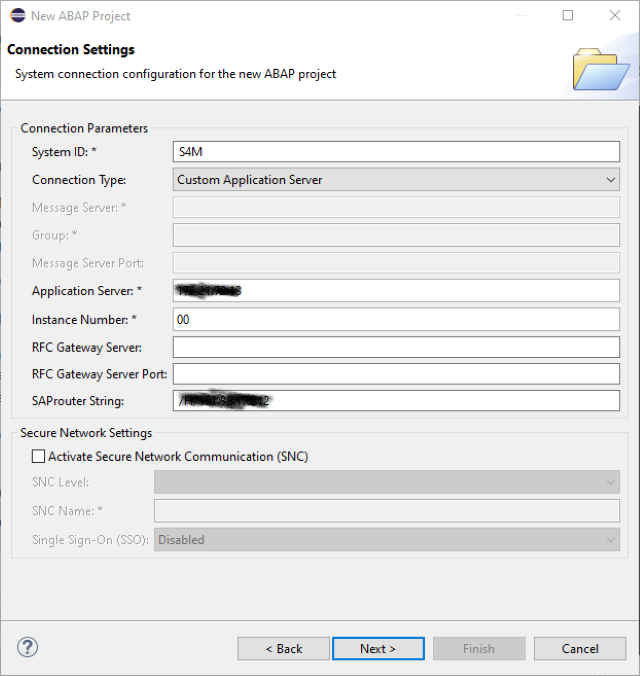
Either select an existing system or click “New system connection” to enter settings for a new system; entries for a new system will be similar to those for SAPGui.
In this example we will use the existing system. Select the system and click “Next” button.
Confirm system definition entries and click “Next” button.
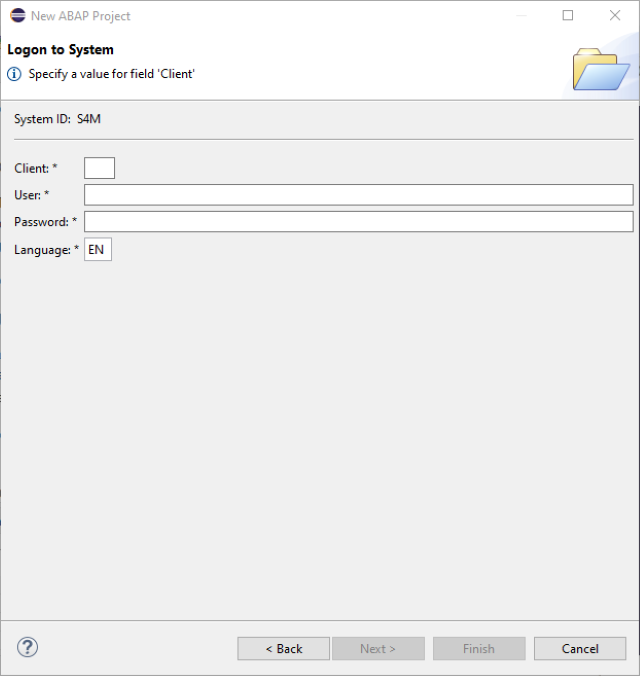
Enter login credentials and click “Finish” button.
Remember that this process was started using the Java perspective following installation. In future, we want to use the ABAP perspective for our development work.
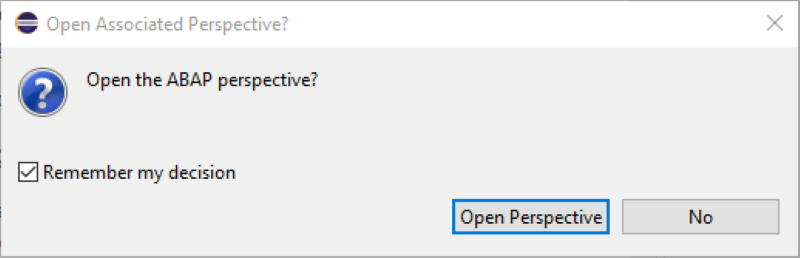
To set the ABAP perspective as the future default, enable the checkbox for “Remember my decision” then click the “Open Perspective” button.
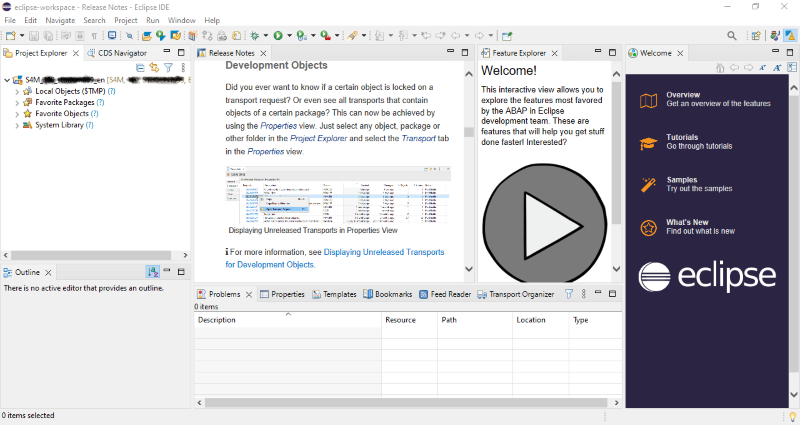
The new system will be displayed in the Project Explorer pane using the ABAP perspective with a tree of objects beneath it.
The above process should not generate any error messages if:
1. Valid system definition values are entered; and
2. Valid logon credentials are provided; and
3. Target system has been configured to allow access via ADT.
Details of required target system configuration can be found at this link: https://help.sap.com/doc/2e65ad9a26c84878b1413009f8ac07c3/201909.001/en-US/config_guide_system_backend_abap_development_tools.pdf
You should also consider reviewing my ABAP Programming Best Practices course to learn the advantages of ABAP Objects over the Classic ABAP programming style, and the best practices for code reuse and error handling. Also covered in my course is the use of ABAP tools and frameworks for efficient programming and abundant code samples to get you programming fast!
by Dorian Salmon
Related Blogs

How to Create a Purchase Requisition in SAP
A Purchase Requisition is a request raised by a person or department t...

How to Develop OData REST API in SAP ERP
The most popular way to establish SAP Connectivity with Non SAP System...

5 Advantages of SAP Fiori Launchpad
SAP Fiori is a design system that empowers you to create business applications...