How do I install the SAP GUI for Windows?
Michael Management
Updated 4 year agoÜberblick
Please follow the guide below to install and connect to the SAP GUI.
Before you begin:
The GUI installation process can take quite a bit of time – please make sure to set aside about an hour or two.
The easiest way:
Enroll in this free step-by-step video training course: How to Install the SAP GUI.
Or continue reading this FAQ:
- Download the SAP GUI file from the link that was provided to you. The download can take an hour or more on a high-speed connection. After the download is complete follow the steps below.
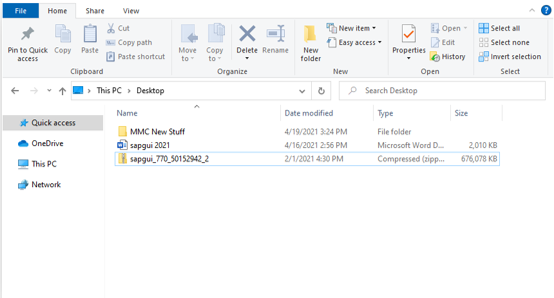
- Locate the downloaded zip file in the Windows Explorer (the name could be different on your computer).
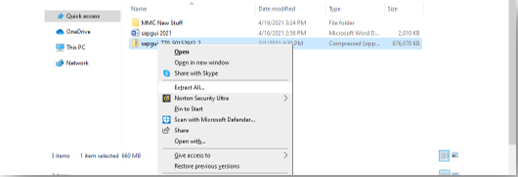
- Right-click it and choose ‘Extract All’ (if you get an error message or do not have an ‘Extract All’ option you might have to use an unzip program such as Winzip or Easyzip)
.
- Select a directory to extract the files to and then click ‘Extract.’ Make sure that ‘Show extracted files’ is selected
- The files are being extracted…
- The files will appear in the chosen folder.
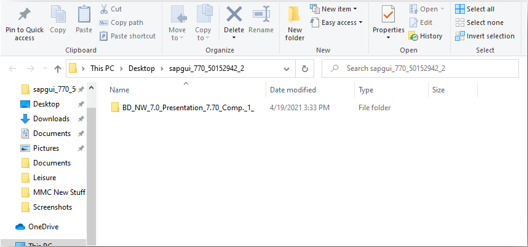
- Now you need to drill into the following directory and start the installation by double-clicking the SetupAll.exe file as shown below:
\PRES1\GUI\WINDOWS\WIN32 > SetupAll.exe
Start the installation by double-clicking SetupAll.exe.
- Select ‘Next.’

- Select the SAP GUI for Windows and Business Explorer options, then click ‘Next.

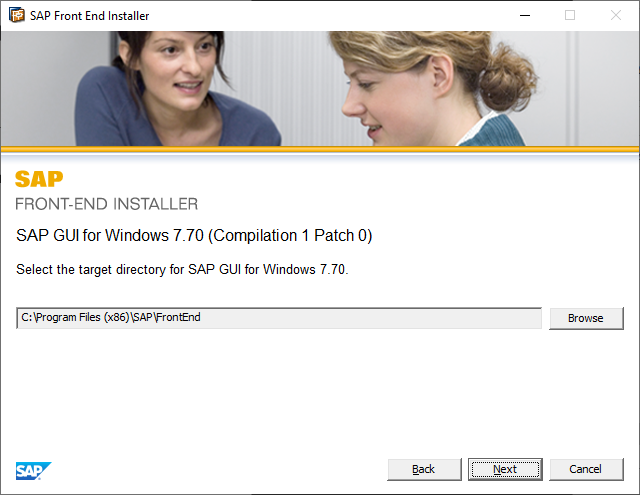
- Accept the default installation locations or ‘Browse’ to change, then click ‘Next.’
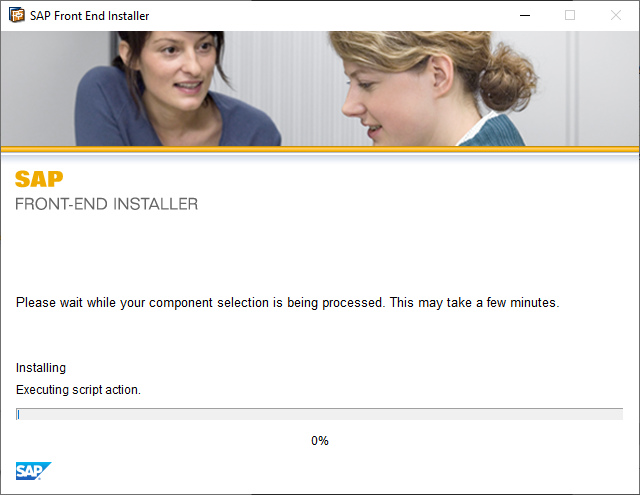
- This window shows the installation process.
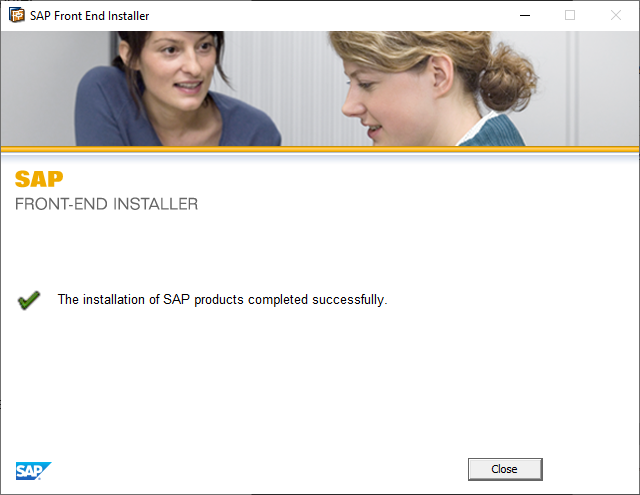
- SAP GUI is installed, click ‘Close’.
- Now you can start the SAP GUI by clicking on the SAP Logon icon on your desktop.

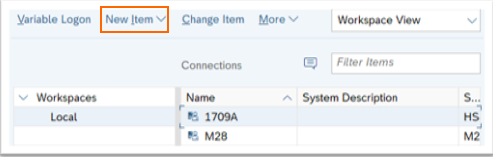
- Now you can add the correct SAP system entry to your SAP GUI by using the system connection information that was emailed to you. To create a new entry, click on New Item.
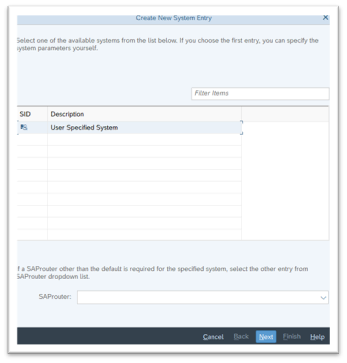
- Click Connection, which is the first option.
- Click Next and add the following information:
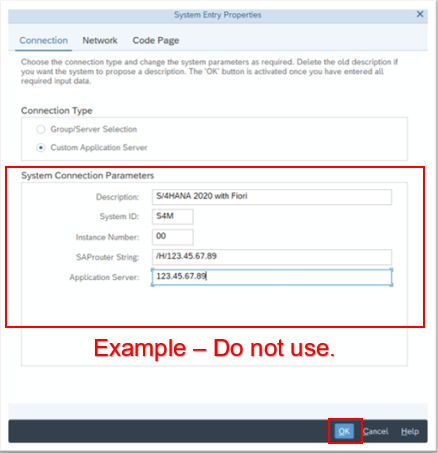
- Enter the Description, Application Server, System ID and System Number on the Connection tab using the table below. Click OK. These GUI connection settings will be emailed to you together with your user ID and password.
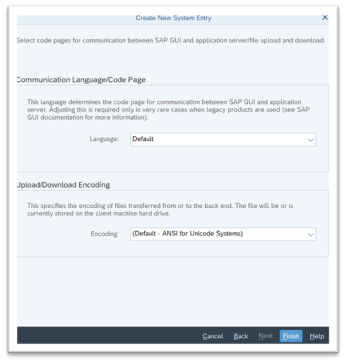
- Accept default settings and click Next.
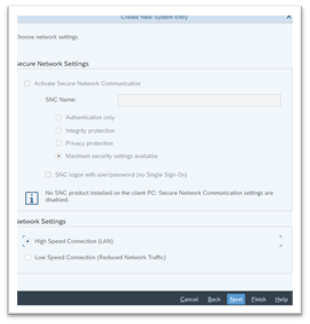
- Accept default settings and click Finish.
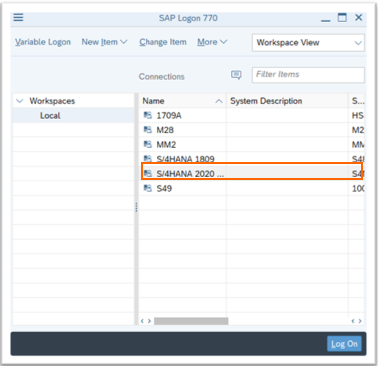
- Double click on system listed to login.
Below is what the login screen looks like:
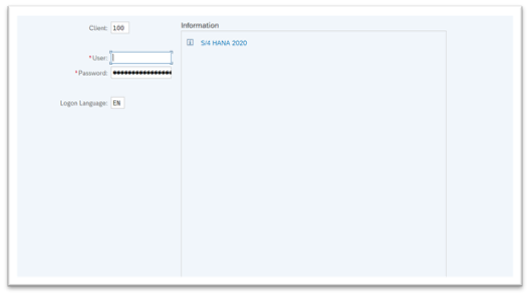
Congratulations! You are all done and ready to login!
Wenn Sie Fragen haben, bitte nicht zögern Kontaktiere uns
Konto GeneralStopp noch?Wie können wir helfen?